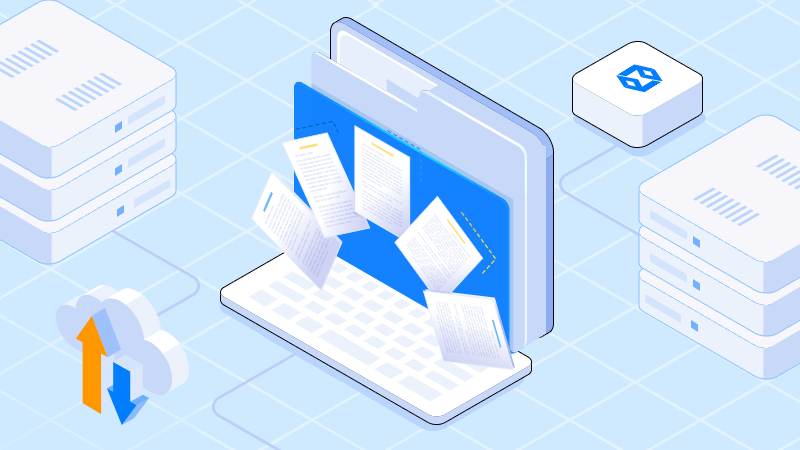
Key Steps for a Smooth Migration to a Dedicated Server Solution
In today’s fast-paced digital landscape, migrating to a dedicated server is a pivotal step for businesses aiming to achieve optimal performance, enhanced security, and robust scalability. Whether you’re upgrading from shared hosting, a VPS, or consolidating your IT infrastructure, following a structured server migration checklist ensures your transition is secure, efficient, and minimizes disruption to your operations. This guide explores what server migration entails, outlines essential steps, and offers practical tips for a seamless migration—empowering you to leverage the full benefits of dedicated hosting environments like those offered by Dataplugs.
What is Server Migration?
Server migration refers to the process of transferring data, applications, and configurations from one server environment to another. This could involve moving from legacy hardware to a new dedicated server, transitioning between data centers, or upgrading to more advanced technologies to support business growth. The goal is to ensure all systems, services, and user data are securely relocated without data loss or significant downtime.
Why Businesses Migrate Servers
Organizations typically pursue server migration to:
- Enhance website and application performance
- Improve data security and compliance with regulations
- Support higher traffic volumes and resource-intensive workloads
- Reduce costs through more efficient infrastructure
- Adopt the latest server technologies for future-proofing
A well-executed migration not only boosts reliability and speed but also provides greater control over your IT environment—crucial for sectors like finance, e-commerce, and technology.
Server Migration Steps: A Comprehensive Checklist
Migrating to a dedicated server involves several critical steps, each designed to protect your data and maintain business continuity. Here’s a detailed migration checklist to guide your journey:
1. Assess and Plan Your Migration
Begin by auditing your existing environment. Identify all applications, databases, and files to be migrated, and document their dependencies. Evaluate your new dedicated server’s specifications to ensure compatibility and scalability, considering factors like CPU, RAM, storage, and network bandwidth. Schedule your migration during off-peak hours to limit impact on users, and communicate plans with stakeholders.
2. Back Up All Data
Before initiating any migration process, create comprehensive backups of your websites, databases, and configurations. Store these backups in multiple secure locations to safeguard against data loss, enabling rapid recovery if issues arise.
3. Prepare the New Dedicated Server
Set up your dedicated server by installing the required operating systems, security patches, and application software. Configure firewalls, DDoS protection, and monitoring tools to establish a secure foundation. Test server performance and ensure all services are running as expected.
4. Transfer Data and Applications
Use secure transfer protocols (such as SFTP or rsync) to move your files and databases to the new server. Migrate in phases if possible, starting with non-critical services and progressing to core applications. Verify data integrity and resolve any compatibility issues during this stage.
5. Test the New Environment
Thoroughly test website functionality, application performance, and user access on the new server. Check for broken links, missing files, and database connectivity issues. Engage in user acceptance testing to confirm everything operates as intended.
6. Update DNS Records
When you’re confident the new server is ready, update your domain’s DNS records to point to the new server’s IP address. Keep both old and new servers running concurrently during DNS propagation (which may take up to 24 hours) to minimize downtime.
7. Monitor and Optimize Post-Migration
Once live, closely monitor server performance, error logs, and security alerts. Address any issues promptly and optimize configurations for speed and reliability. Solicit user feedback to identify and resolve lingering concerns.
Best Practices for a Zero-Downtime Migration
- Communicate Clearly: Inform users, customers, and team members about planned migration dates and expected impacts.
- Leverage Staging Environments: Test changes in a sandboxed environment before going live to catch issues early.
- Automate Where Possible: Use migration tools and scripts to streamline data transfer and reduce manual errors.
- Work with Experts: Consider consulting your hosting provider or IT professionals for complex migrations.
Why Choose a Dedicated Server Environment
Dedicated servers provide an isolated, resource-rich platform tailored to your business needs. With exclusive access to hardware, organizations benefit from enhanced security, compliance readiness, and the flexibility to scale as requirements evolve. Hong Kong-based providers like Dataplugs offer enterprise-grade servers, direct China connectivity, and 24/7 bilingual support—making them a trusted partner for businesses seeking reliable performance and local expertise.
Preparing for Migration to Dataplugs
While Dataplugs does not handle migration on your behalf, their robust infrastructure, customizable security features, and professional support team ensure your environment is primed for a smooth transition. Once your server is ready, you can confidently deploy your applications, knowing you’re supported by a provider recognized for uptime, network resilience, and transparent service.
Conclusion
Migrating to a dedicated server is a strategic investment in your business’s future. By following a clear server migration checklist and best practices, you can achieve a seamless transition—minimizing risk and positioning your operations for sustained growth. Ready to unlock the performance, security, and scalability advantages of dedicated hosting? Explore Dataplugs’ solutions and get expert advice tailored to your needs.
For a detailed consultation or to learn more about Dataplugs’ dedicated server offerings, contact their team via live chat or email at sales@dataplugs.com. Empower your migration journey with the right foundation for digital success.
